
How to Choose a Home in Seattle for Urban Farming (& Tips for Getting Started)
- Matt Miner,
- October 12, 2019
In the past decade, urban farming as been on the rise. As tech seems to take over our lives more and more, it’s no wonder why people are turning to the simple pleasures that life has to offer, like spending an afternoon getting your hands in the dirt!
View this post on Instagram
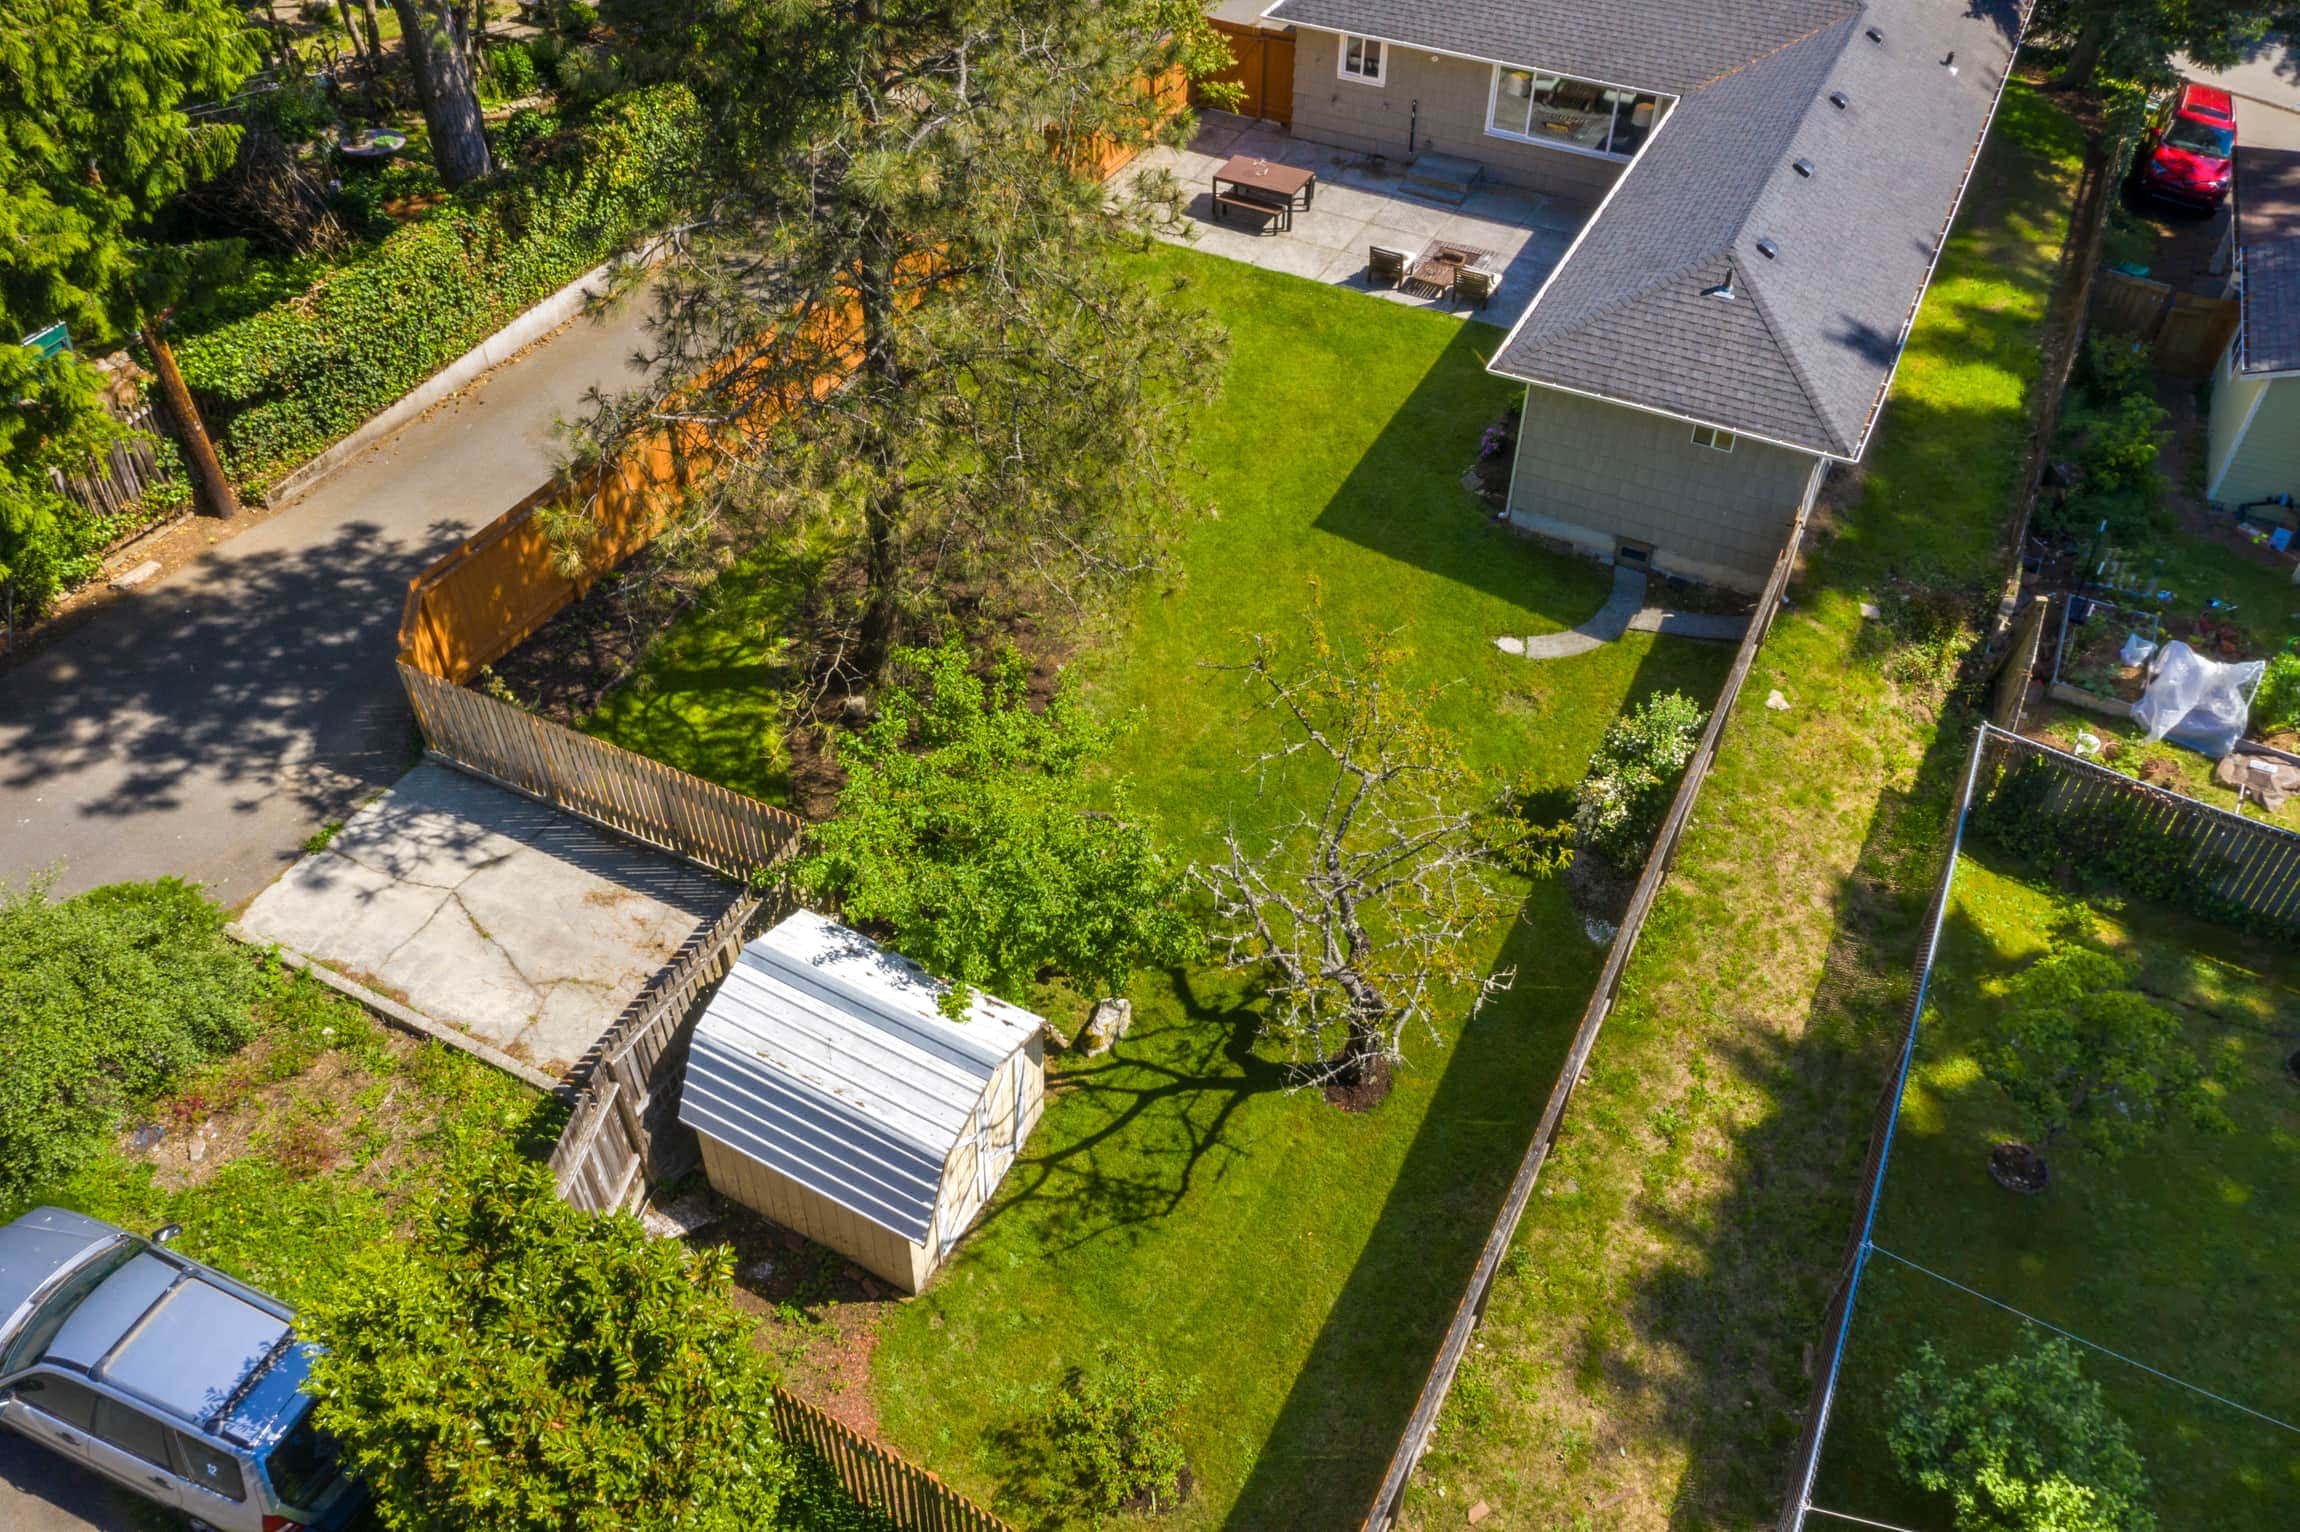
If you live in Seattle and you’re an aspiring urban farmer, the first key to starting your own little farm is finding the right property. Of course as real estate agents, we’re also not only thinking about how YOU will use the property, but how your home will fare when you go to resell it, too. Here are a few things you’ll want to look for in your ideal Seattle property for urban farming:
View this post on Instagram
1. Create the ideal conditions.
This means putting the working part of your garden in an area that gets the most sun. (Plant placement will come later—some plants do well with a bit of shade, while plants like tomatoes love the heat!)
You’ll also want to make sure you have the right soil conditions. You’ll need soil, compost, and mulch, and you’ll want to make sure your plants will have a deep enough bed to grow in. It’s also important that you get your existing soil tested, especially if you have an older home (there can be lead and other contaminants present).
View this post on Instagram
2. Figure out what you want to plant.
Make sure you set yourself up for success and choose fruits, veggies, and herbs that will thrive in Seattle. This includes greens (like kale and Swiss chard), summer squashes (like zucchini and yellow crookneck), tomatoes, potatoes, asparagus, beans, corn, cucumbers, onions, peas, beets, garlic, mint, thyme, basil, rosemary, strawberries, blackberries, raspberries (well, all the berries!)… the list goes on, but this will keep you busy as you get started.
View this post on Instagram
3. Determine your garden’s design based on what you want to grow.
You might decide to build an arrangement of raised garden beds, you might need to grow vertically and build a trellis, or you might try out gardening in containers. You can even intersperse produce in with your flowers and other plants, and in fact, you can be strategic about plant placement based on what plants will help to keep bugs away, too—growing marigolds, mint, basil, citronella grass, lavender, etc. can all help to repell the bugs we don’t want around our edible plants.
You also might decide that you need a greenhouse to get seedlings started in the early spring—these can be super easy to set up (here’s a low-cost example and here’s a nicer option).
View this post on Instagram
4. Figure out your water situation.
If you need to install water, we recommend running a water line to the back of the lot for easy access. You’ll want it about 3 feet underground to keep it from freezing in the winter and of course you’ll need a shut-off valve. This is a bit of an investment and can cost you about $1k per foot beneath the ground (so with 3 feet under you’re looking at $3k), but it’s worth the upfront cost to do it right and save yourself a major headache later.
For even more in-depth information on all of this, the City of Seattle has a fantastic PDF guide called “Growing Food in the City.” Download it here!


Real estate guru and Seattle know-it-all
@https://www.youtube.com/channel/UCufEgIpNKrMvxdaGZ9w1I9wIn everything that I do as your REALTOR®, I have one guiding principle in mind: To make certain that your home-buying or selling experience is a happy, successful, wonderful life experience! We build trust and security with our clients using knowledge and transparency.


")